Elegant DIY Invitations: How a Calligraphy Font Generator Saved My Wedding Budget and Vision
When I first began planning my wedding, I had a singular, unwavering vision: invitations that exuded elegance and romance through exquisite calligraphy. However, I quickly realized that my dreams didn’t quite align with the reality of professional calligrapher fees or my own hectic schedule. That was until I discovered the magic of a Calligraphy Font Generator. To be honest, it was a total game-changer.
In this guide, I’m sharing my first-hand experience of using a digital calligraphy tool to design quick, affordable, and genuinely stunning DIY wedding invitations. If you’re craving a luxury aesthetic without the luxury price tag, this is for you.
Why I Turned to a Calligraphy Font Generator Early On
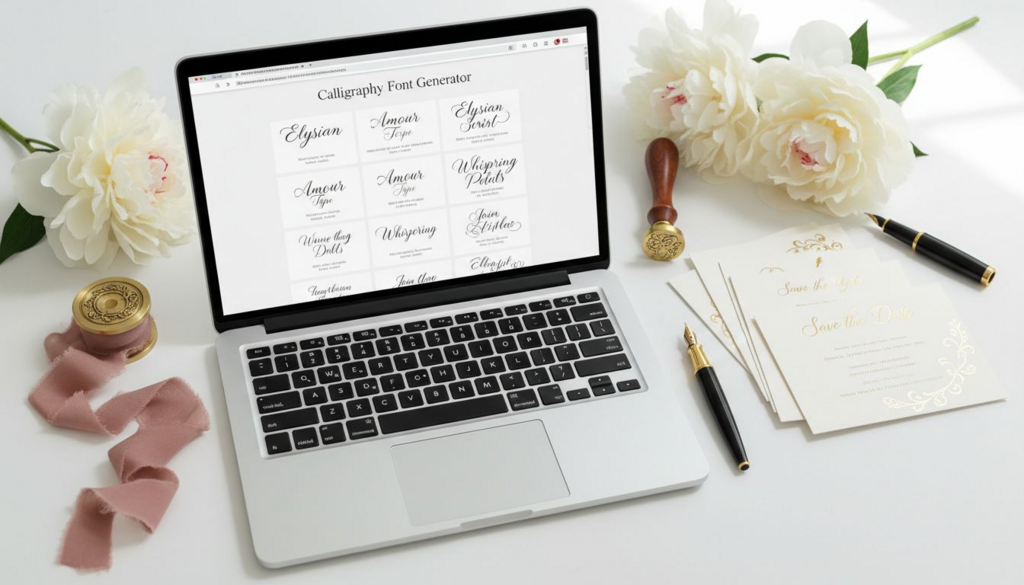
At the very start of my design journey, I stumbled upon a Calligraphy Font Generator. It immediately struck me as the perfect middle ground between artisanal charm and modern convenience.
Instead of endlessly scrolling through generic system fonts or wrestling with complex design software, I could instantly preview sophisticated scripts that felt personal and “wedding-worthy.” Being able to test names, dates, and full layouts in seconds provided a level of efficiency that every bride-to-be needs.
What Exactly Is a Calligraphy Font Generator?
A Calligraphy Font Generator is an intuitive online tool that transforms plain text into beautifully styled artistic scripts. Unlike traditional fonts that require installation, these generators allow you to:
- Type directly into your browser for instant results.
- Preview a vast library of diverse calligraphy styles side-by-side.
- Fine-tune details like character spacing, weight, and flow.
- Export high-quality designs ready for professional printing or digital use.
For wedding stationery, this translates to complete creative autonomy—no design degree required.
My 30-Minute Transformation
I still remember my first “aha!” moment. I typed: “Sara & Ahmed — Together with their families…”
Within seconds, the words were rendered in a graceful, flowing script. I was sold. By creating my wedding invitations using a Calligraphy Font Generator, I was able to experiment freely—choosing classic, formal scripts for the main invite and softer, “handwritten” styles for the RSVP cards. I wasn’t locked into a single look; I could tweak every letter until it felt just right.
Why Calligraphy Fonts Are a Wedding Essential
They Evoke Instant Emotion
Calligraphy is more than just decoration; it’s an experience. The fluid strokes and handcrafted curves signal romance and celebration. It sets the tone for your guests the moment they open the envelope.
Cohesion Across Every Detail
Once I found “the one,” I utilized the Calligraphy Font Generator to maintain a cohesive theme across:
- Save-the-Date cards
- Welcome signage and seating charts
- Table numbers and place cards
- Thank-you notes
How to Choose Your Perfect Style
Not all scripts are created equal. Here is my advice for narrowing down your choices:
- Match Your Theme: Opt for traditional, flowing scripts for black-tie affairs, or looser, organic styles for rustic outdoor weddings.
- Prioritize Legibility: A font might look stunning in a large heading but become unreadable in a small address line. Always test various scales.
- Balance the Flourishes: It’s tempting to go “extra,” but sometimes simpler calligraphy feels more timeless and prints much cleaner.
My DIY Step-by-Step Process
- Draft your text in a plain document first to finalize the wording.
- Paste the text into the Calligraphy Font Generator to compare styles.
- Select a primary script for the “hero” text (like your names).
- Pair it with a clean, simple serif or sans-serif font for the logistics (time/venue) to ensure clarity.
- Export and Print.
Unexpected Benefits
- Incredible Cost Savings: I saved hundreds of dollars that would have gone toward custom hand-lettering.
- Last-Minute Flexibility: When our venue details shifted slightly, I didn’t panic. I just hopped back onto the generator, edited the text, and re-exported it in minutes.
- The “Wow” Factor: Friends and family constantly asked, “Who did your calligraphy?” The fact that I did it myself was incredibly rewarding.
Pro Tips for a Professional Finish
- Paper Quality Matters: Use thick, high-quality cardstock (250–300 GSM).
- Mind the Margins: Ensure your calligraphy flourishes have room to “breathe” so they don’t get clipped during trimming.
- Test Print: Always print a single copy to check ink saturation and readability before committing to the full batch.
Conclusion: A Bride’s Honest Take
Looking back, choosing to use a Calligraphy Font Generator was one of the smartest logistical decisions I made. It offered me creative freedom, saved my budget, and produced results that looked bespoke.
You don’t need to be an artist to have an elegant wedding. With the right tools and a little experimentation, you can design an invitation suite that reflects your love story—effortlessly and beautifully.
Alexia is the author at Research Snipers covering all technology news including Google, Apple, Android, Xiaomi, Huawei, Samsung News, and More.