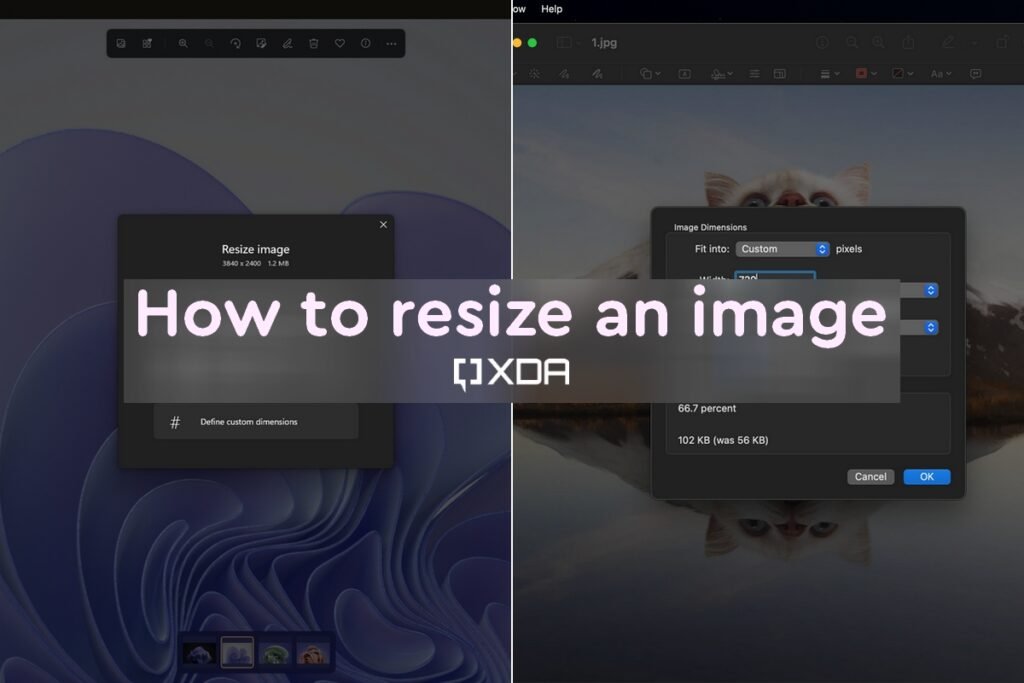
How to resize an image on your Windows PC or Mac
We’ve all been there: Trying to upload an image, sometimes as part of a big form, and the website where you need to upload it to has an annoying limit on file size. It can be an understandable limitation – after all, images take up a lot of space, so compressing them can be important. But that means you now have to resize the image yourself, and we’re here to show you how you can do it on your Windows PC or Mac.To be clear, there is no shortage of methods for resizing images on a PC, but before you go on and download some third-party tool you’ve never heard of, it’s a good idea to look at the tools available to you out of the box. Let’s get into your options.
Navigate this article:
How to resize an image on a Windows PC
Right out of the box, Windows gives you more than one tool to resize your images. Plus, your laptop’s manufacturer may even include their own tools for this kind of stuff, but we’ll focus on the ones that are included with any version of Windows.
How to resize an image using the Photos app
The Photos app is probably the easiest way you can resize any image you want to. It’s very quick and simple, assuming you just want to resize a couple of images. Here’s what you need to do:
That’s about it if you want a quick way to resize your images using the Photos app. You can save the image with the same file name if you want to overwrite the existing file, but you can also keep the original high-quality version.
Using Paint
If you really hate the Photos app for whatever reason, Paint also lets you resize images fairly easily. The main benefit to doing it this way is that you can see the final result before saving the file. You can also undo changes as long as the app is open. Here’s what to do if you want to use this method:
This is another easy method for resizing images, and it’s the one I personally used most frequently for a long time.
Resizing images in bulk
The two methods above work well if you just want to resize an image or two, but if you have a folder with a ton of large images, that’s going to get tiring after a while. If you want to resize multiple images at once, there are some tools you can download to help you out with that.My personal favorite is PowerToys, which is also published by Microsoft and developed in collaboration with the open-source community. PowerToys actually has a lot more tools than the image resizer, but that’s what we’re focusing on for now. Here’s what you need to do:
Note: When you resize an image using this tool, it will be resized to fit in the maximum dimensions you specified. If the aspect ratio of the image is different from the size you selected, the width or height will be smaller than the size you chose.
And that’s about it for ways you can resize an image on a Windows PC. If you don’t see the option to resize pictures in your context menu, you may need to make sure PowerToys is running. Launch the app and, if you want, set it to run at startup so you don’t have to think about it again.
How to resize an image on a Mac
If you’re using Mac, things are actually quite a bit more straightforward, since the only tool you need is built right into macOS. Apple’s operating system comes with an app called Preview, and this lets you resize images individually and in bulk.One thing to note before doing this is that Preview will always replace the original image files when you resize them. If you want to keep the original files, duplicate them first, then resize the duplicates and leave the original images intact.Here’s how it goes if you want to resize a single image:
If you want to resize your images in bulk, the process is similar, but there are a couple of things you need to pay attention to. First, select all the images you want in Finder and open them with Preview. Then, in Preview, make sure you select the thumbnails for all the images you want to resize before using the Adjust Size option.And that’s about it. It’s admittedly a bit easier to get this done on macOS, but it’s not a difficult process either way. As a Windows user, PowerToys is my go-to for resizing images now, since I can work with multiple images with just a few clicks. It’s only really a bit more troublesome to set up the first time, but it saves you a lot of time in the long run. There are plenty of other options for both Windows and macOS if you want to use third-party tools, but this is probably easier for most people.Want to get into more advanced image editing? Check out our roundup of the best image editing tools for Windows, and stop by our list of the best photo editing laptops if you want to do this more professionally.
Source
Research Snipers is currently covering all technology news including Google, Apple, Android, Xiaomi, Huawei, Samsung News, and More. Research Snipers has decade of experience in breaking technology news, covering latest trends in tech news, and recent developments.