AI Photo Editor Steps From Upload To Download Check
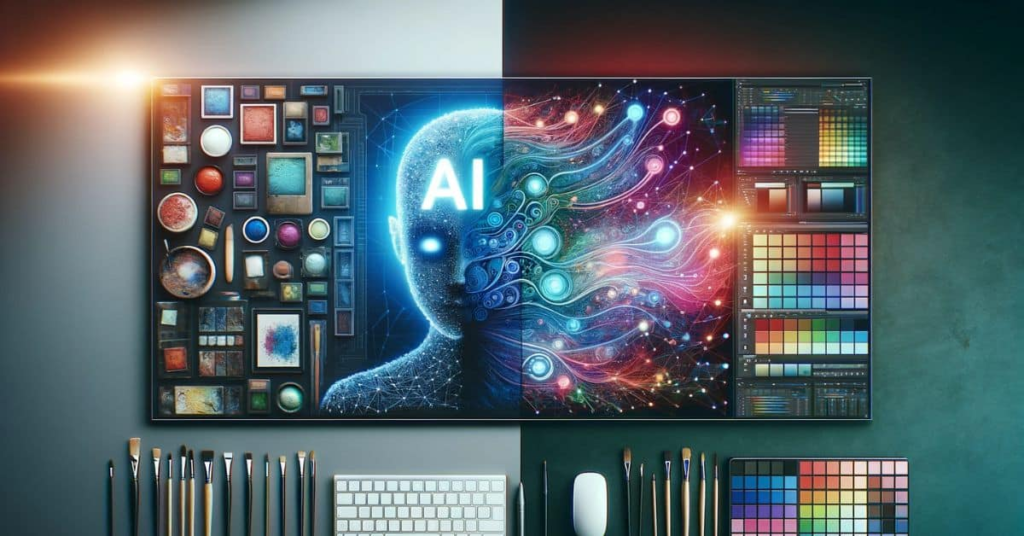
Prompt-based photo editing feels effortless right up until the output lands at the wrong ratio or a slightly different crop than the sentence you typed, and by then the generation credit is already spent. An AI Photo Editor built around one upload slot and one text box only earns trust when two unglamorous steps happen before the exciting one: lock the frame before you click generate, and run a short check between the download and the intent you actually described.
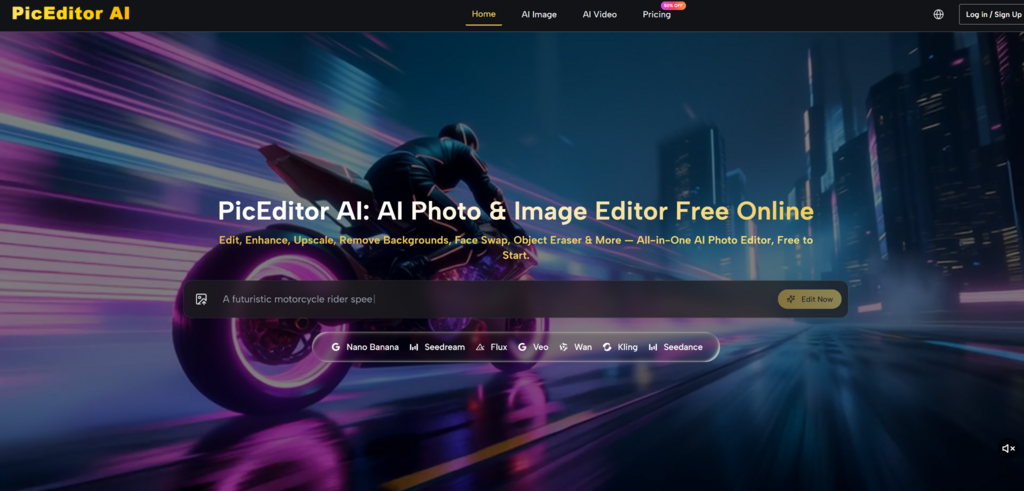
Most guides skip straight to model names and prompt phrasing, as if wording alone decided the result. In practice, the workflow order matters more than which chip you pick from the model row. PicEditor AI runs a picture-editor flow that is short on paper – upload, describe, generate, download – and long on the small settings tucked around those four verbs. This piece walks the steps in the order the site actually uses them, then lists the errors that quietly break the download check.
Why Prompt Edits Drift Without A Locked Frame
A text prompt describes what should change inside the frame. It rarely fixes the frame itself. If ratio and resolution are left on defaults while the prompt asks for a wide banner crop or a tall portrait, the model has to guess, and a guess is exactly what a download check is supposed to catch before it goes anywhere near a live page.
PicEditor AI keeps this decision visible instead of buried. The picture-editor screen pairs the description box with a live character counter, shown as Process with AI against a 0/2000 ceiling, so a rambling prompt is a visible signal, not a hidden risk. The homepage hero repeats the same order for its shortcut tools – Remove background, Erase object, Enhance, Upscale, Change background, Restyle – each sitting behind Upload Image and Describe your edit, with a row of model chips (Nano Banana 2, Seedream, Flux, Veo, Wan, Kling, Seedance) and a ratio control shown as 1:1 | 1K next to them.
None of that model variety fixes a wrong ratio by itself. Ratio and resolution sit outside the prompt, which is exactly why they need to be set on purpose, not left however the last session left them.
The Upload To Generate Workflow Steps
Stripped of marketing language, the picture-editor flow is four moves. Each one has a specific field or button attached to it, and skipping the order they appear in is where most of the drift starts.
Upload The Photo And Set Ratio
Drop the source image into the upload slot first, before touching the prompt box. This is the moment to pick the ratio the final asset actually needs – square for a thumbnail, tall for a story crop – rather than leaving 1:1 | 1K as a placeholder you forget about until the download looks cropped wrong.
Describe The Edit In The Prompt Box
Write the edit as one instruction, not a wish list. The Process with AI counter climbing toward 2000 characters is not an invitation to stack five unrelated requests into a single pass; a shorter, single-intent line is easier to check against the result later.
Click Generate And Watch The Queue
Generate, sometimes labeled Edit Image depending on the tool, sends the upload, the prompt, and the locked ratio together. Nothing about this step should surprise you if the two earlier fields were set on purpose; surprises here almost always trace back to a ratio or resolution that got skipped.
Download The File And Compare Against Intent
The download is not the finish line, it is the start of the check described further down. Save it next to a copy of the exact prompt text so the comparison is not done from memory.
Enhancer And Upscaler Controls Worth Locking First
The Enhancer and Upscaler tool exposes the same ratio-and-resolution decision as dedicated fields instead of a compact hero row, which makes it a useful reference for what to check before any generate click.
| Control | What it sets |
|---|---|
| File type and size | JPG or PNG, Max 30MB per upload |
| Image Size | Multiple fixed ratios plus an Auto option |
| Resolution | 1K, 2K, or 4K output |
| Number of Images | 1 to 4 variants from one generate click |
| Visibility | Public Visibility toggle for the result |
| Required Credits | Often shown as 15 before you generate |
Reading that table before clicking Generate Image costs a few seconds. Reading it after a wasted credit costs the credit plus the retry.
Setting Image Size And Resolution First
Auto sizing is a reasonable default when the destination is unclear. It stops being reasonable once you know the asset needs a specific ratio, at which point picking that ratio explicitly is faster than trimming a mismatched output afterward. Resolution follows the same logic – 4K for anything that will be viewed large, 1K when the destination is a small thumbnail and file weight matters more than detail.
Choosing Number Of Images To Compare
Generating more than one variant from the Number of Images control gives you a small side-by-side instead of a single guess to judge in isolation. My Images keeps the batch together, which makes the download check in the next section faster to run against more than one candidate.
Common Errors And The Result Check Before Ship
Most download-check failures trace back to one of a small set of repeat mistakes, in the order they tend to surface during a normal editing session.
- Leaving ratio on a default that never matched the destination layout.
- Stacking multiple unrelated instructions into one prompt instead of one clear edit.
- Skipping the character counter and letting the prompt run long and vague.
- Generating once, downloading immediately, and never opening a second variant to compare.
- Ignoring the Required Credits figure and re-running the same setup after a near miss.
Running The Result Check Against Original Intent
Open the downloaded file next to the saved prompt text and ask three plain questions: does the ratio match the destination, does the edited area match what the sentence described, and would a viewer notice anything the prompt did not ask for. Any AI Photo Edit that fails even one of those questions goes back for another pass with a tighter prompt, not a different model chip.
Credits And Plan Choices Behind Each Edit
Every generate click on PicEditor AI spends credits, so the plan behind the workflow matters as much as the workflow itself. Billed yearly, Starter runs about $8.3 a month for 10k credits across the year, Pro runs about $25 a month for 32k credits a year, and Unlimited sits at $75 a month. Unused credits roll over rather than resetting to zero, which matters for a workflow that leans on generating a few variants per edit instead of one.
Higher tiers add No Watermark output, a Commercial License, and more concurrent generation slots, either 2, 4, or 8 depending on plan, which shortens the wait when Number of Images is set above 1. None of that changes the order of the four core steps; it only changes how many attempts you can run through the same download check without waiting or paying per retry.
Separately, GPT Image 2 is worth knowing about if a prompt leans on text rendering, tight instruction following, or inpainting a specific region rather than restyling the whole frame, and it is free to start. Matching the model to that kind of instruction-heavy edit matters more than switching models at random after a bad result.
Ship When The Prompt And Crop Match
None of this needs a new model to fix it. Lock the ratio and resolution before the prompt box, write one instruction instead of a list, and treat the download as a question rather than an answer. PicEditor AI gives you the fields to do that in four steps; the discipline of checking the result against the sentence you wrote is the part no tool row supplies for you.
Ship the edit once the crop matches the destination and the changed area matches the prompt, not once the file simply looks fine on a quick glance. That one-minute check is cheaper than every retry it prevents, and it is the difference between a workflow you can repeat all week and one you keep second-guessing after the fact.

Alexia is the author at Research Snipers covering all technology news including Google, Apple, Android, Xiaomi, Huawei, Samsung News, and More.