The Reference-Image Test: What Makes an AI Image Tool Useful?
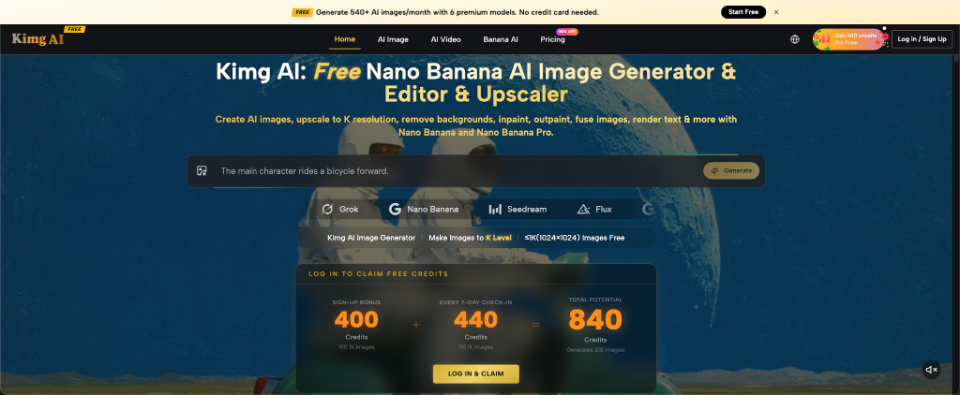
A polished demo image tells you very little about whether an AI tool will help with real work. The harder test begins when you upload a product photo, a character reference, or an existing design and ask the model to change one thing without damaging everything else. That is where tools built around reference-based generation become more interesting. Platforms such as Nano Banana give users a way to start with either written prompts or existing images, making it possible to evaluate the technology through practical editing tasks instead of judging it by showcase images alone.
Start With a Repeatable Input, Not a Perfect Prompt
A useful test needs a fixed starting point. Choose one clear image with a visible subject, simple lighting, and enough background detail to expose unwanted changes. A laptop on a desk, a person wearing a distinctive jacket, or a packaged product works well. Save the original and reuse it for every attempt.
The goal is not to create the most impressive picture. It is to see whether the tool follows a narrow request consistently. Ask for a background change, a different camera angle, or a new visual style while keeping the main subject recognizable. This reveals far more than an open-ended prompt such as “make a futuristic image.”
Judge Preservation Before Beauty
Many generated images look attractive at first glance but fail when compared with the source. A logo may shift, a face may change, or the proportions of a product may become inaccurate. These problems matter when the image belongs to a campaign, review, tutorial, or product page.
Before judging color and composition, compare the result with the original. Check the subject’s shape, clothing, facial features, markings, and important objects. Then inspect whether the requested change actually happened. A successful edit should not force you to choose between preserving the subject and receiving the new setting. Beauty matters, but controlled change is the more useful benchmark. Create a small checklist before testing: subject identity, geometry, color, text, lighting, and requested change. Score each item as preserved, partly changed, or failed. A checklist prevents an impressive background from distracting you from a damaged product or altered person. It also makes two generations easier to compare because you are judging the same details each time rather than relying on a general impression.
Run Three Tests That Expose Real Weaknesses
A short test sequence helps you compare results without turning the process into a full research project. Use the same source image and keep notes on what changed unexpectedly.
- The Single-Change Test
Ask the tool to replace only the background. For example, move a desk product from a plain room into a clean studio setting. Do not request new props, dramatic lighting, or a different angle. This test shows whether the model understands boundaries. If the product shape, label, or color changes, the edit is not truly controlled. A simple instruction is intentionally demanding because the model has fewer excuses for unrelated changes.
- The Multi-Reference Test
Next, combine separate visual references: one for the subject and another for the desired style or setting. Nano Banana AI is presented as supporting multiple reference images, which makes this a relevant test for projects that need visual consistency. Check whether the result borrows the intended qualities from each reference without blending them into an unclear compromise. Strong output should keep the subject identifiable while applying the new visual direction in a controlled way.
- The Style-Transfer Test
Finally, ask for a clear style change, such as turning a realistic photo into an editorial illustration or a soft watercolor scene. The subject should still be easy to recognize. Look for details that disappear during the transformation, especially text, small accessories, and facial features. This test is useful for creators who need several visual treatments of the same idea rather than unrelated images from separate prompts.
Write Prompts Like Change Requests
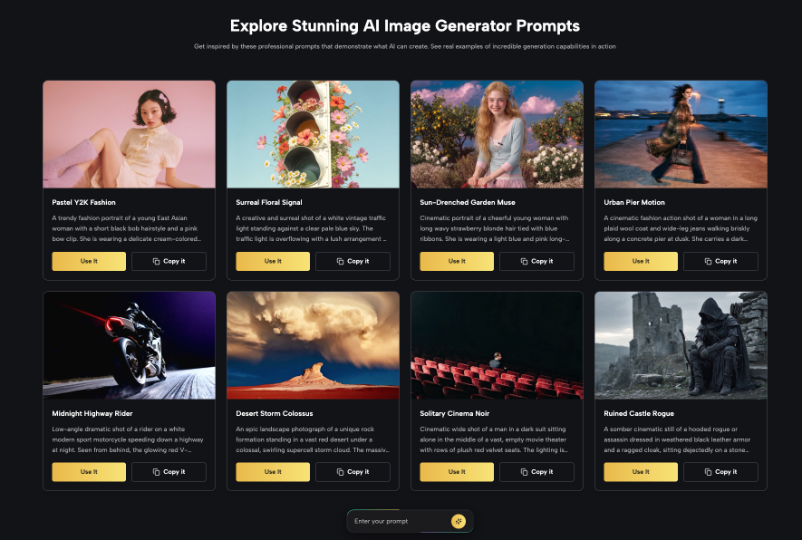
Reference-based generation works better when the prompt describes what should change and what should remain fixed. A practical prompt has three parts: preserve, change, and avoid. For example: “Keep the laptop, desk layout, and viewing angle unchanged. Replace the background with a bright co-working space. Do not alter the keyboard, screen proportions, or device color.”
This format is easier to evaluate than a long paragraph filled with mood words. It also makes failure easier to diagnose. When the model changes an object you explicitly protected, you have identified a control problem. When it follows the boundaries but misses the atmosphere, you can adjust the creative direction without rewriting the whole request.
Separate Editing Tasks From Fresh Generation
Not every visual problem should begin with an uploaded image. Fresh generation is useful when you need an original concept, a rough campaign direction, or a scene that does not already exist. Editing is better when the subject, layout, or identity must remain connected to existing material.
Mixing these goals causes confusion. A prompt that asks for a completely new scene while demanding exact preservation may create competing instructions. Decide whether the source image is a strict reference or only inspiration. For a strict reference, keep the requested change narrow. For inspiration, allow more freedom and judge the result by concept quality rather than pixel-level similarity. A useful habit is to label each task before starting: “edit,” “variation,” or “new concept.” That one label helps you set the right expectation and prevents endless prompt changes aimed at an impossible combination of freedom and exact control.
Check the Output at Its Final Use Size
A result that looks convincing in a large preview may fail as a thumbnail, article header, or mobile image. Reduce it to the size where readers will actually see it. Small text may become unreadable, the main subject may disappear into the background, and subtle lighting may lose its effect.
Also inspect the image at full size for distorted hands, repeated objects, broken edges, and inconsistent reflections. These errors are easy to miss when the composition is strong. The best testing routine includes both views: a detailed inspection for generation errors and a final-use preview for practical communication. An image must survive both checks before it enters a published project.
Repeat the test before drawing a conclusion. One successful image does not prove that a tool will behave consistently across every subject or style. Faces, products, architecture, and text-heavy graphics create different challenges. Results may also vary when the source image is dark, crowded, or low in detail.
Treat the first test as a screening method, not a final verdict. Repeat the strongest task with two or three different inputs. Keep the prompt structure similar so the comparison remains fair. This gives you a more realistic sense of where the tool performs well and where manual correction or a different method may still be necessary.
Conclusion
The most useful AI image tool is not always the one that produces the most dramatic first result. It is the one that follows a limited request, preserves important details, and gives you a result that works in its intended format. Start with one repeatable image, run the three tests, and record the unexpected changes. That small process turns a vague product trial into a practical decision. Choose one real visual task from your current workload and use it as the benchmark before adopting any tool more widely.

Alexia is the author at Research Snipers covering all technology news including Google, Apple, Android, Xiaomi, Huawei, Samsung News, and More.